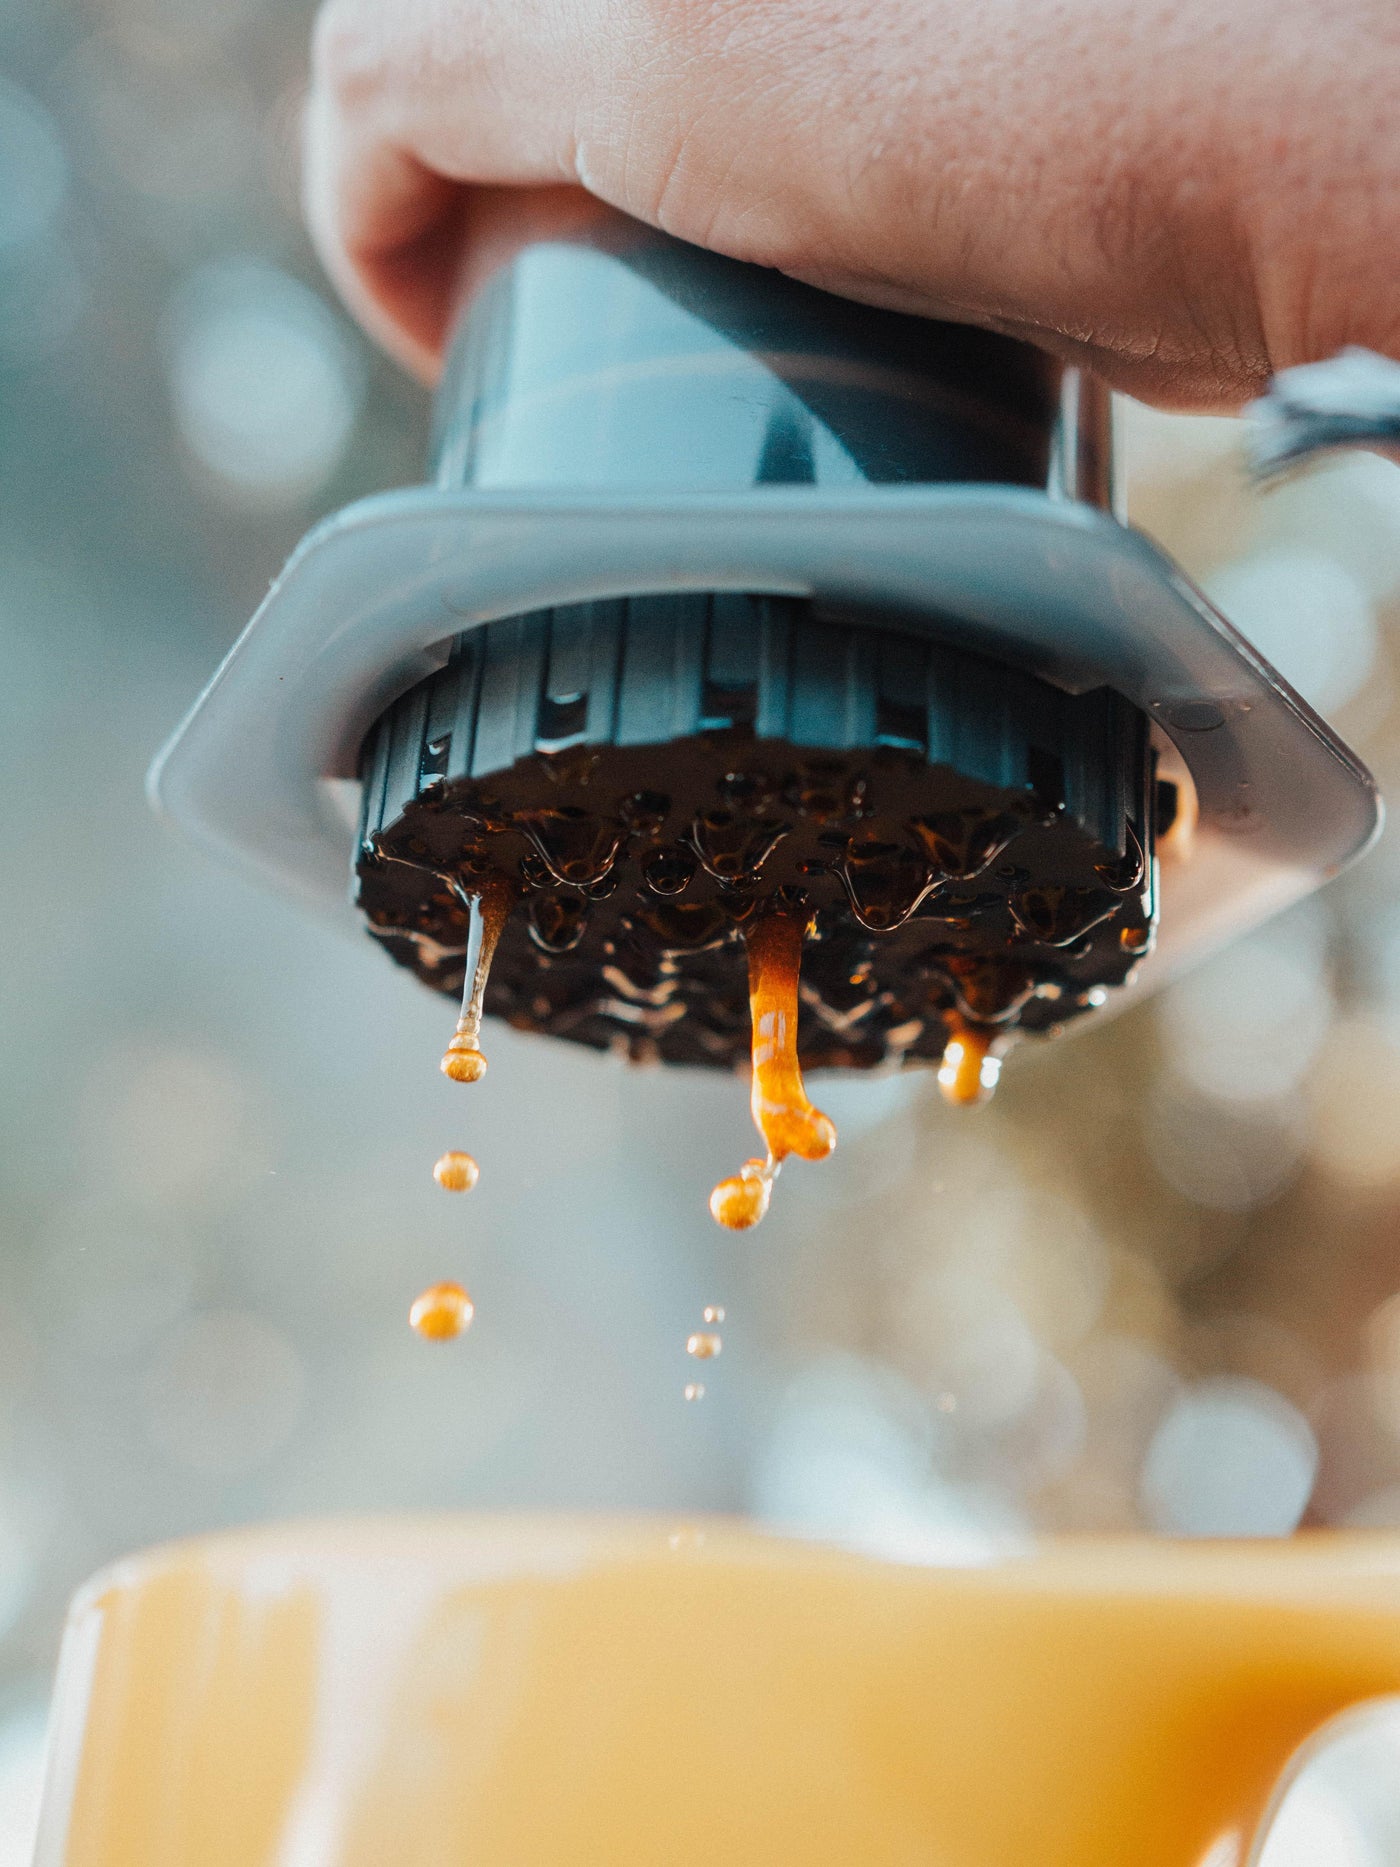
The Aeropress: the Swiss Army Knife of Coffee Brewing
At first glance, the Aerobie Aeropress is innocuous and unassuming. Its wordmarks and primary measurements are embossed and gilded on the outside of the brewer. This, combined with its extremely forgiving recommended brew method, makes this brewer easy to dismiss in favour of more sleek, established and sometimes finicky brew methods.
However, make no mistake - the Aeropress is a formidable piece of coffee kit, and your creativity is the only limiting factor in exploring its mysteries.
A fun fact about the Aeropress - Alan Adler’s - the inventor - first big invention was the Aerobie Flying Ring. Look it up, check out the documentary, and be amazed.
Like all good, inquisitive inventors - Adler’s approach to coffee brewing was asking, “how can I make this better?”
Enter - the Aeropress.
The Aeropress combines a unique blend of design elements and BPA-free materials to make it an excellent brewer for home, travel and camping use. The main assembly consists of two nesting plastic tubes, one with a rubberized-end for plunging, and a plastic filter holder for a paper or reusable metal filter, which easily screws onto the entire assembly.
The brewer has a recommended method from Adler himself, which he describes as an espresso-like brew. However, over the 15 years since its invention, the coffee industry at large has come to develop a myriad of recipes and methods for this modest brewer. Its cult following has grown so large that experimentation is the norm, and highly organized but decentralized Aeropress brewing competitions are held at local, national, and international levels.
Moving past the traditional parameters of dry dose, amount of water, time, and grind size, the clever design of the Aeropress lends itself to flexibility in its physical orientation and properties.
The two most popular methods of brewing with the Aeropress: the standard method, and the inverted method.
The standard method, as recommended by Adler himself, involves assembling the brewer upright without the plunger onto a mug or decanter, dosing your grinds and water into the brewer, and plunging downward into your vessel of choice. When ground fine enough, this method yields a very rich, concentrated brew. However, ground to a medium, this brew method yields a great cup of drip coffee. Because of the plastic and paper filter assembly at the bottom, brewed coffee will begin to drip through over the course of your preparation. To mitigate this, insert your plunger to help control dripping by creating a vacuum in the brewing chamber. This will help keep extraction, and therefore flavour balance, even.
The inverted method has seemingly surpassed the standard method in popularity. It involves assembling the plunger, about halfway through the #4 marking, and setting the brewer plunger-down on your work surface. Add the recommended amount of ground coffee and water, as per your recipe, attach the filters, and let it begin to steep. Once you’ve steeped for the recommended amount of time, flip the entire contraption over, and plunge.
It is worth noting that these methods are generally calibrated to brew a traditional cup or two of coffee. However, manipulating the variables, and being creative can yield very interesting and unexpected results. It is entirely possible to brew an Americano-style cup, a batch of cold brew, a concentrate to dilute for multiple cups, and cocktail bases, simply by tinkering with your parameters.
As an industry, we are still exploring the rabbit hole of Aeropress methods. It is possible to brew a successful Aeropress through what seems to be an endless intersection of parameters - fine grind versus coarse grind, short steep time versus long, a quick plunge versus plunging over the course of a minute, etc. Additionally, a plethora of aftermarket accessories exists for the Aeropress, each designed to enhance or alter the brewing experience.
One of the more approachable & sustainable accessories - a metal, machined disc - replaces the paper filter to yield a more viscous brew, as the metal screen allows oil to pass through into your final brew. Another accessory applies Bernoulli’s principle, increasing the viscosity of the final brew by increasing pressure while plunging, yielding a brew that is comparable to espresso.
Brewing with an Aeropress is a creative process, but as with all brew methods - what separates a good brew from an excellent one is sweetness and clarity of flavours.
Check out our recommended Aeropress recipe. While following this recipe, aim to brew a sweet and balanced cup.
Once you’re comfortable, and feeling adventurous, track down some recipes that yield a shorter, richer, espresso-like shot, or try to brew a concentrate that you can dilute with ice for a cold brew. Whether it's a caramel-bomb like our organic Sierra Nevada or one of our staple blends, experiment with these methods and discover the flavours that you can tease out of your favourite Propeller Coffees.
Try it out and tag us @propellercoffeeco to let us know how your #aeropress goes!